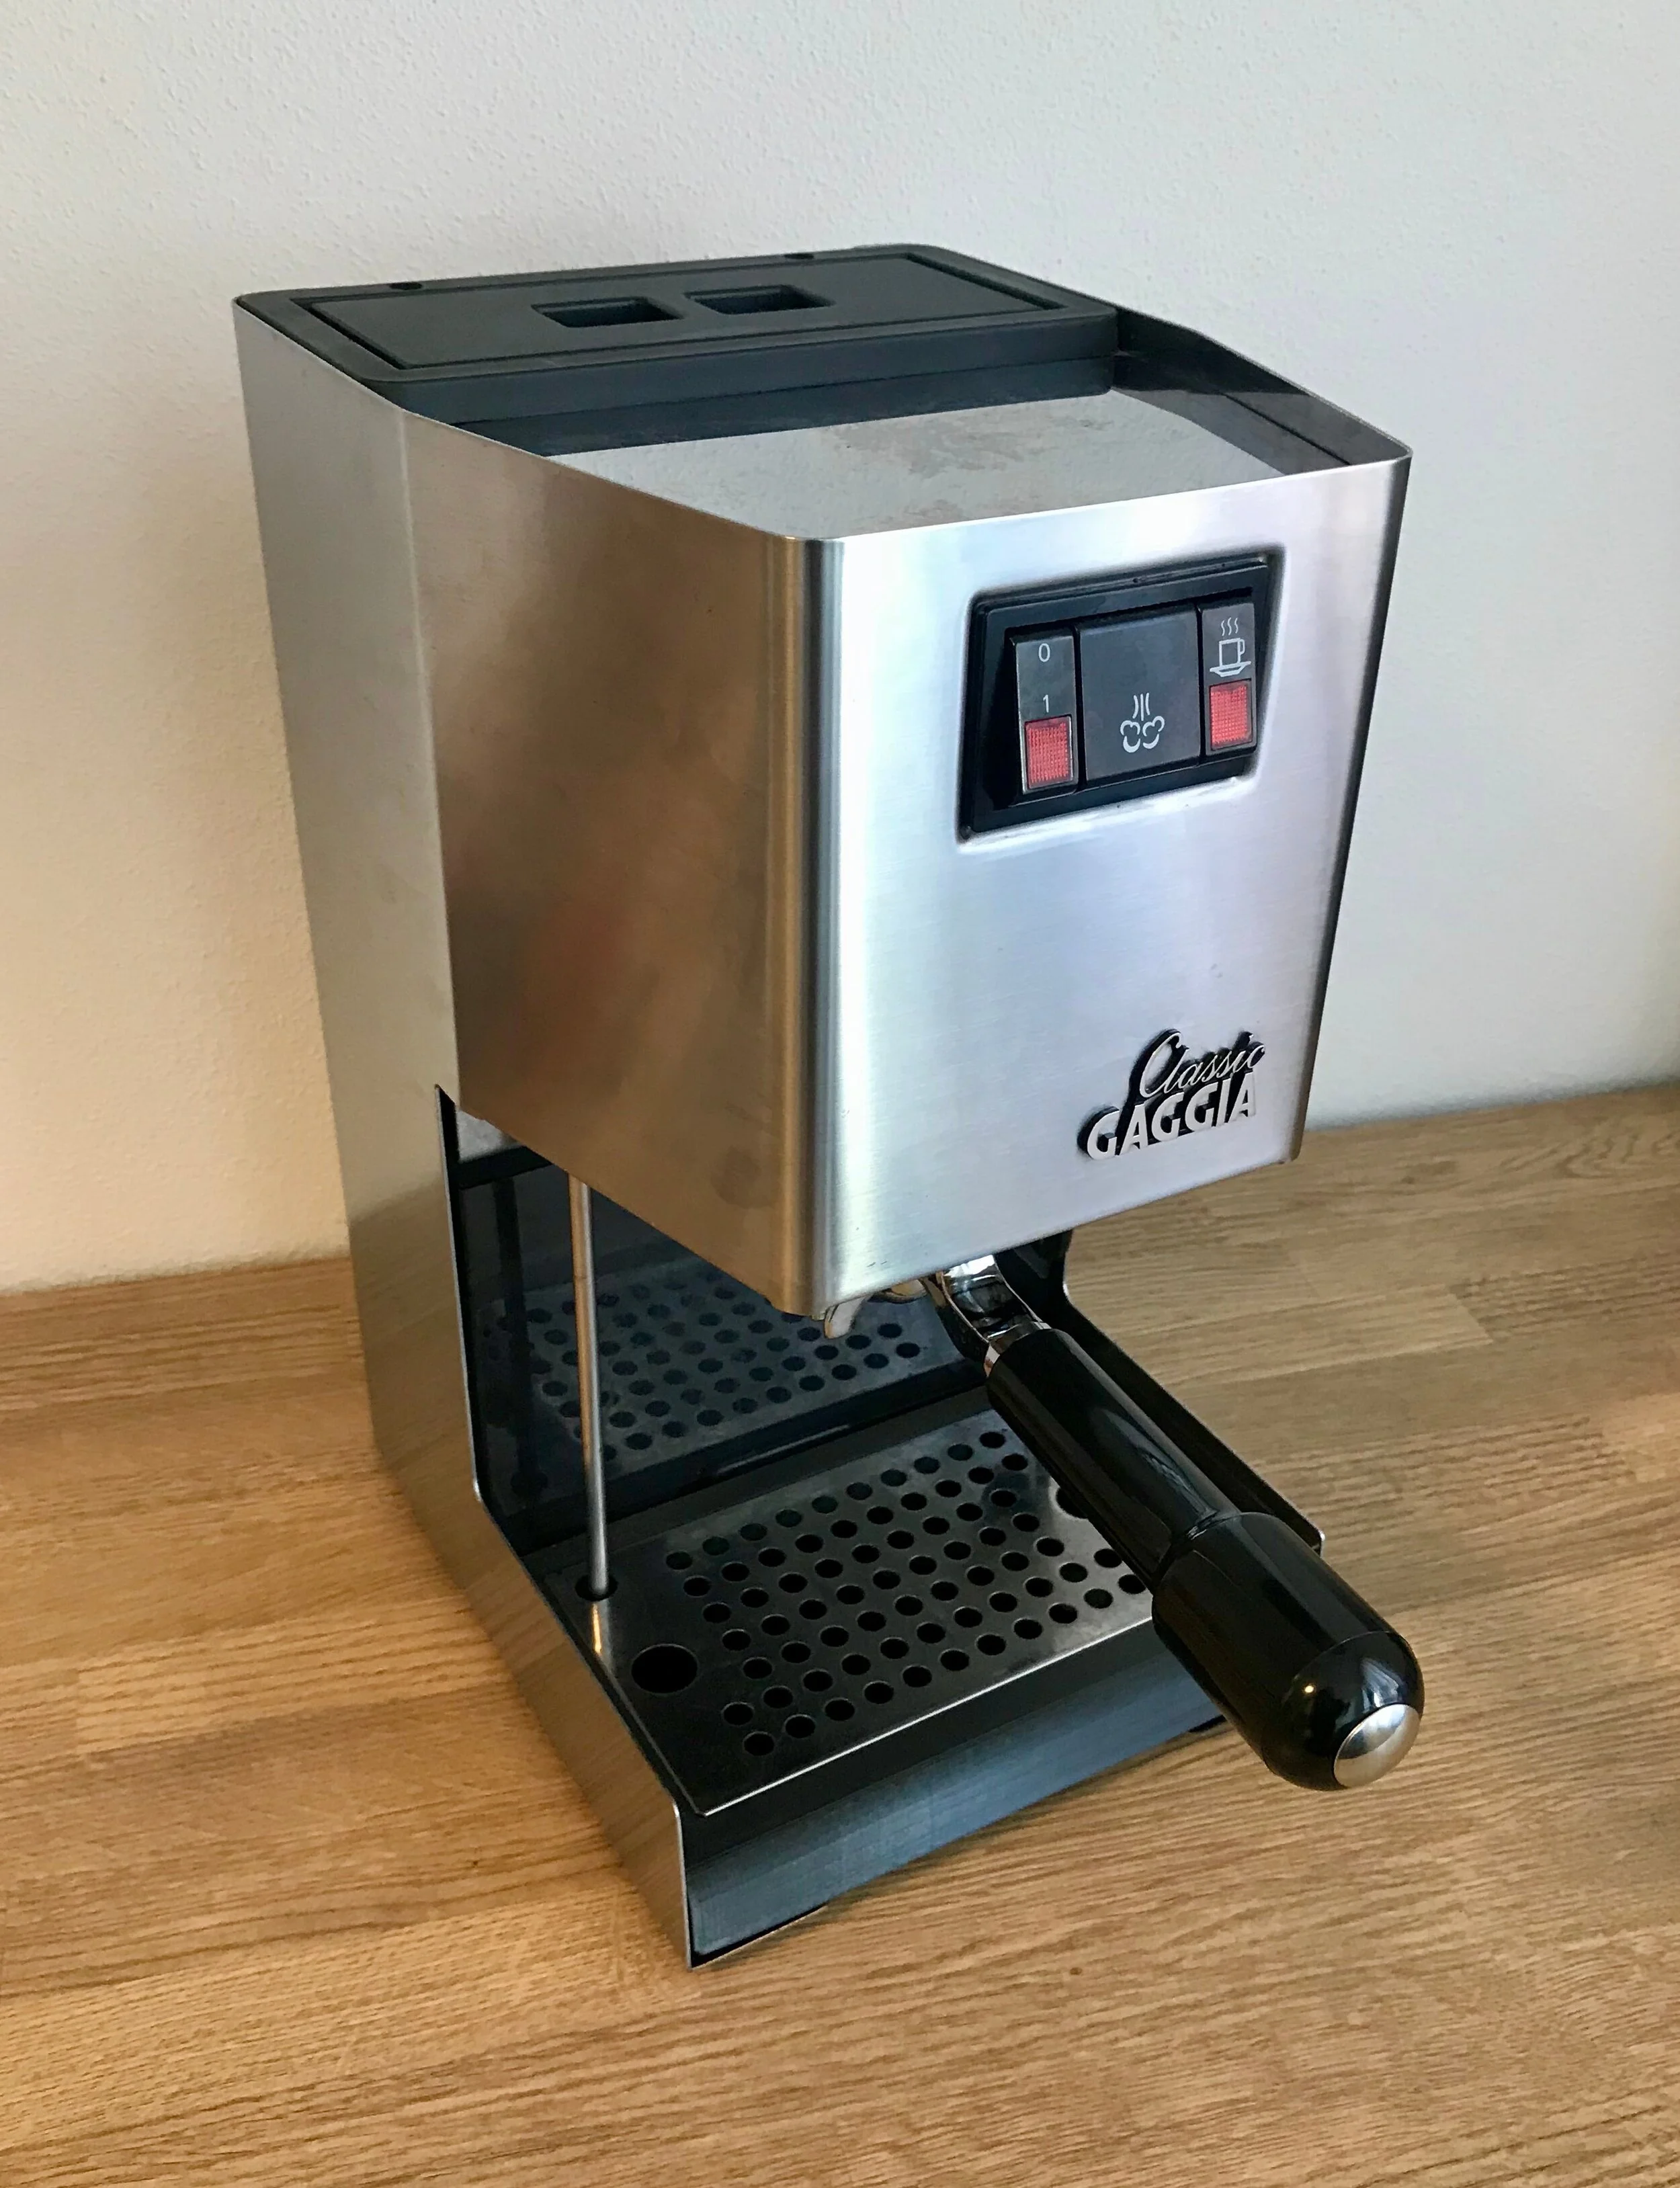

Gaggia Classic / Model R9303/11
As many people: I love coffee, I would even call myself a coffee enthusiast, owning a Gaggia Classic (R9303/11 to be precise) since 2014. I’m generally very happy with the machine, but there is one specific weak point: the stability of the water temperature, especially during the brewing process.
This is a common issue with many machines, where the water temperature is controlled by a simple fixed temperature thermostat. That’s also the reason why you can find quite a lot DIY projects where coffee machines are upgraded with a PID controlled temperature regulation. There are even kits sold, specifically tailored for many different makes and models. All those projects work basically the same: The boiler / water temperature is measured using some kind of thermo element, a solid-state relay to control the heater and the PID controller itself. Most versions show the current and set temperature on a small seven-segment display. You can set the water temperature via buttons below the display.
Motivation
Unfortunately most projects are either “invasive”, meaning the machine casing needs to be modified and / or live in small extra cases attached to the machine. Some kits are also pretty pricy, the Auber PID Kit for my machine for example is around 200$. So none of the existing solutions would work for me, as I want to preserve the machine (casing) as is, so the project is completely non-destructive and reversible. I also planned to spend a lot less money on the project compared to the ready-made kit.
As I have some experience in the field of microcontrollers, measurement and control, etc. I thought this might actually be a nice little project. So how would I design a solution for the problem? There were the following constraints / guidelines:
no case modifications
be completely invisible from the outside
ease-of-use (no extra startup tasks, just switch on)
But there is actually one aspect that I will ignore at the moment. As I never use the steam function, it is currently not important to me to keep it working. But for those of you who need this, it should actually be no problem to use the steam function with CoffeePID, it’s just not on my todo list for now. It is also very likely that I will come back to this in a later post, so stay tuned. In general I want to note, that this is somehow a first stage of the project. It is very likely that I will change some hardware decisions after I received and tested the whole setup. There is also a lot of potential for other modifications, but I wanted to start with a “minimal” setup. Especially after placing the components inside the machine we will see, if there is any room left to fill. But for now let’s stick to a quite simple setting.
Hardware Choice
WEMOS D1 mini pro V1.1.0
The controller part could be implemented using one of many different microcontrollers available. To keep the complexity of the project low I wanted to use sth. Arduino compatible yet powerful. In other projects the ESP8266 has always been a good friend, so it should cope with this challenge easily. I especially like the WEMOS D1 mini pro board for development and even static use, as it is very compact, can be directly programmed, has enough CPU power, flash and IO and is pretty cheap (around 3€ a piece at AliExpress). It also offers the possibility to connect an external antenna. At this moment I want to have this option as a backup, because I intend to use WiFi functionality of the ESP8266, what is very likely a very bad idea. Putting the chip inside a massive stainless steel case may impact wifi performance, that’s when an external antenna should come in handy.
The next decision was on how to set and display the temperature: buttons and a display? But then how about the original look of the machine? I had some doubts about it, but I decided to go with a web interface served via the ESP. It is plenty quick, can act as an access point or as a wifi client, and with some love to the details it should be very easy to use.
As of now, I already have a lot of code running, but I will come back to this later and first complete the list of hardware choices.
Next up: measuring the temperature. This was actually pretty hard, as I wanted it to be really precise. And as I looked around I was intrigued by the idea to have a simple replacement component for the original thermostat, which has an M4 thread. And thanks to the 3D printer world there are a lot of M4 threaded type K thermocouples out there. Unfortunately they don’t really fall in the “precise” category regarding measuring accuracy. An error of at least ±2 °C is not acceptable if you aim at .1 precision for an optimal result. There are other and better thermocouple types, but they are in bad supply and not M4 thread compatible, so I started all over. If I had started with a simple google search on “measure temperature esp8266“ I would have learned very quickly that the most accurate (and also easy and cheap) solution would be a PT100 or PT1000 thermo element. So I finally came to the MAX31865 controller and a PT1000 1/3Din (class AA) element. It is very important to choose an element with small error ratings, I also recommend small (short) elements, as they are easier to integrate. In this case the best I could find was class AA (3mm x 15mm), translating into the following error-formula:
E = 0.1 °C + 0.0017 | t | °C
So for our preferred working range around 100 °C the maximum measurement error is 0.1 °C + 0.0017 * 100 °C = 0,27 °C. As this is the max error rating, we can generally assume that the error will be much smaller in reality, especially as we don’t use the thermo element in extreme temperature ranges (mine has a measurement range of -40 °C to 400 °C). An error of around a fourth of a degree in measuring the boiler temperature actually sounds really great to me.
If you want some more details on the type k thermocouple vs. RTD (PT100 / PT1000) question, you should check this comparison.
The last two components where finally pretty easy to find. Still missing are the solid state relay to control the heating and the power supply for the microcontroller. The relay has to switch 230V AC just above 5.5 Ampere, as the heater draws a lot of power. So I needed an AC solid state relay that could be switched with an 3,3V input and have a currency rating of at least 10A (better save than sorry here). I finally chose the SSR-25DA (25A AC); yes, the 10A version may also suffice, but if you own the 110V-version of this machine, you would exceed the 10A heating current. Also it is not advised to use these “cheap” SSRs close to their rated limit. And as both versions (10A vs. 25A) are around the same price and size, the choice was simple.
And lastly, an almost boring component, a simple 230V to 3,3V power brick, to power the electronics. In this case I went for a small Meanwell 8.2W print-type power supply (IRM-10-3.3). There are a lot of different models and I expect the actual power drain to less than 1W, so we are again clearly on the safe side.
So finally, all parts ordered……
And I think this is already a good introduction to the project and components I plan to use. In the next posts I will explain the other aspects of this project like the software, website and build in more detail. I hope you enjoyed reading.
P.S.:
As mentioned there are many projects like this out there, this is just my opinionated approach. I want to give you some links to sources that are related and partially inspired me to this project:
espresso-PID (WEMOS D1 mini, type k thermocouple, SSR and OLED display)
Gaggia Classic Seamless PID Upgrade (protofusion board, type k thermocouple, SSR)
ZonCoffee (custom hardware, type k thermocouple, SSR, LCD)
Gaggia Classic Custom PID build (german)